Installation Guide: Setting Up Smart Thermostats with AC Units
Share
Table of Contents
Modern thermostats in smart ACs have revolutionized the way we control our home climate, offering greater convenience, energy efficiency, and comfort. Setting up smart thermostats for your AC units can be an excellent way to regulate temperature more precisely while reducing energy bills.
If you’re ready to upgrade your HVAC system with a smart thermostat, follow these steps for a seamless installation experience.
Why Install a Smart Thermostat with Your AC Unit?
Before diving into the installation process, it’s important to understand the benefits of integrating a smart thermostat with your AC unit. Smart thermostats offer advanced features like:
- Remote Control: Adjust your home’s temperature from anywhere using a smartphone app.
- Energy Savings: These thermostats learn your preferences and adjust settings to save energy when you’re away or asleep.
- Improved Comfort: Precise temperature control ensures your home is always at your desired level of comfort.
- Voice Control: Many smart thermostats are compatible with virtual assistants like Alexa or Google Assistant for hands-free adjustments.
Step-by-Step Guide for Setting Up Smart Thermostats
Step 1: Choose the Right Smart Thermostat for Your AC Unit
When selecting a smart thermostat, ensure that it is compatible with your AC unit. Most modern smart thermostats work with central air conditioning systems, but it’s always good to double-check the product specifications.
Look for thermostats that offer features like geofencing, scheduling, and multi-zone control for optimal comfort and savings.
Step 2: Gather Tools and Materials
You’ll need the following AC tools and materials to install your smart thermostat:
- A screwdriver (typically Phillips head)
- A drill (if required for mounting the thermostat)
- A wire stripper or cutter
- A level to ensure the thermostat is mounted correctly
- Your smart thermostat, of course, with its included mounting plate and wiring guide
Step 3: Turn Off the Power
Before beginning any electrical work, always ensure the power to your AC unit and thermostat is completely turned off. You can do this by switching off the breaker for the HVAC system at your circuit panel.
Step 4: Remove the Old Thermostat
Start by carefully removing the existing thermostat. Typically, you’ll need to unscrew the cover and take note of how the wires are connected to the old thermostat. Most thermostats will have color-coded wires attached to terminals like “C,” “Y,” “W,” “R,” and “G.”
Label these wires with the included tags so you can connect them correctly to the new smart thermostat.
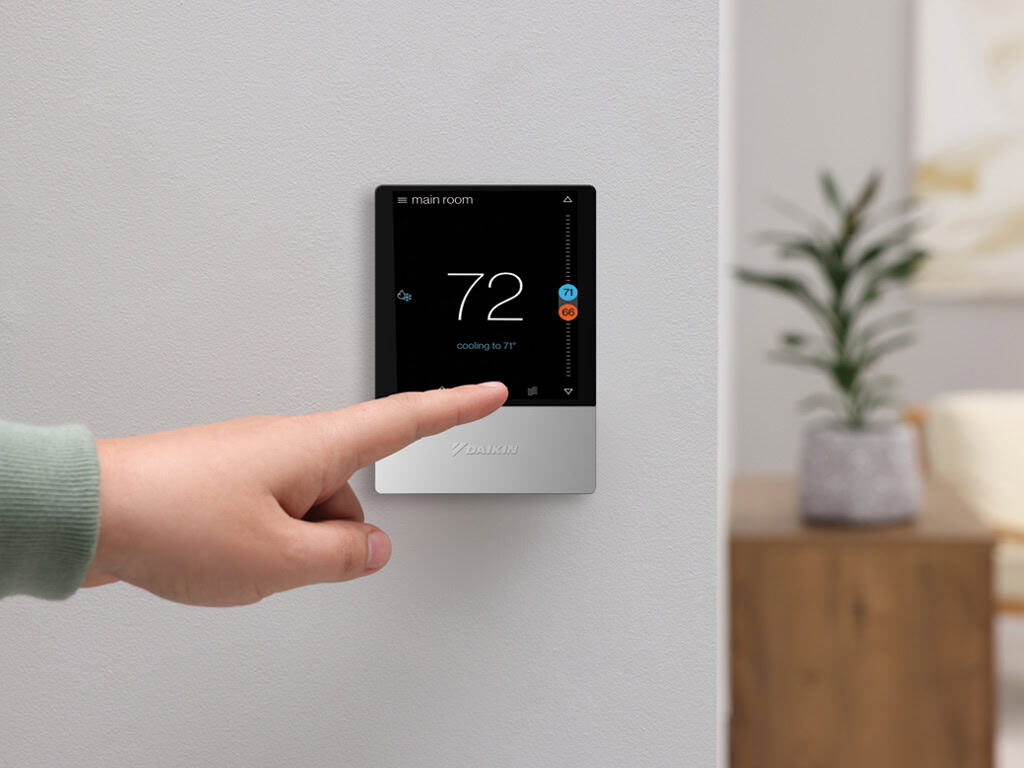
Step 5: Mount the New Smart Thermostat
Once the wires are labeled, use the new mounting plate provided with your smart thermostat to attach it to the wall. Ensure the plate is level and secure. Most smart thermostats come with a bracket that allows you to attach the thermostat body easily.
Mount it in the desired location near your AC unit, typically in a central area that’s free from obstructions.
Step 6: Connect the Wires to the Smart Thermostat
Using the wire labels you created earlier, connect each wire to the corresponding terminal on the smart thermostat. The wiring configuration will vary depending on your HVAC system, but most smart thermostats come with detailed guides that make this process easier.
- R (Red): This wire connects to the power source from your AC unit.
- C (Common): Needed for constant power to your smart thermostat.
- Y (Yellow): Controls the cooling system of your AC.
- W (White): Controls the heating system if you have a heat pump.
- G (Green): Controls the fan.
Make sure each wire is securely connected, and if your smart thermostat requires a battery backup, install the batteries as instructed.
Step 7: Attach the Thermostat to the Mounting Plate
Once all the wires are connected, attach the thermostat body to the mounting plate. This usually involves snapping it into place and ensuring it’s securely fitted.
Step 8: Power On and Set Up the Thermostat
Now that your thermostat is physically installed, it’s time to power it on. Turn the power back on at the circuit breaker and follow the on-screen prompts to set up your smart thermostat.
Most smart thermostats will ask for details such as your Wi-Fi network, time zone, and home temperature preferences.
Step 9: Connect the Thermostat to Your Smartphone or Virtual Assistant
To enjoy the full benefits of a smart thermostat, connect it to your smartphone app or smart home assistant like Alexa, Google Assistant, or Apple HomeKit. This step will allow you to control your home’s temperature remotely and set schedules for energy-efficient climate control.
Follow the app’s instructions to complete the connection and ensure everything is working correctly.
Step 10: Test Your Smart Thermostat
Finally, test your thermostat by adjusting the temperature through the app or directly on the unit. Confirm that your AC system responds correctly to changes in temperature, and ensure that the thermostat is maintaining your desired settings.
If everything is functioning as expected, you’ve successfully installed your smart thermostat!
Setting Up Smart Thermostats: Optimizing Energy Efficiency
Setting up a smart thermostat with your AC unit can enhance your home’s comfort and energy efficiency. With the right preparation and a little effort, you can install it yourself, saving money and enjoying the convenience of a climate-controlled home.
Follow these steps carefully, and you’ll be able to experience the benefits of your new smart thermostat in no time.